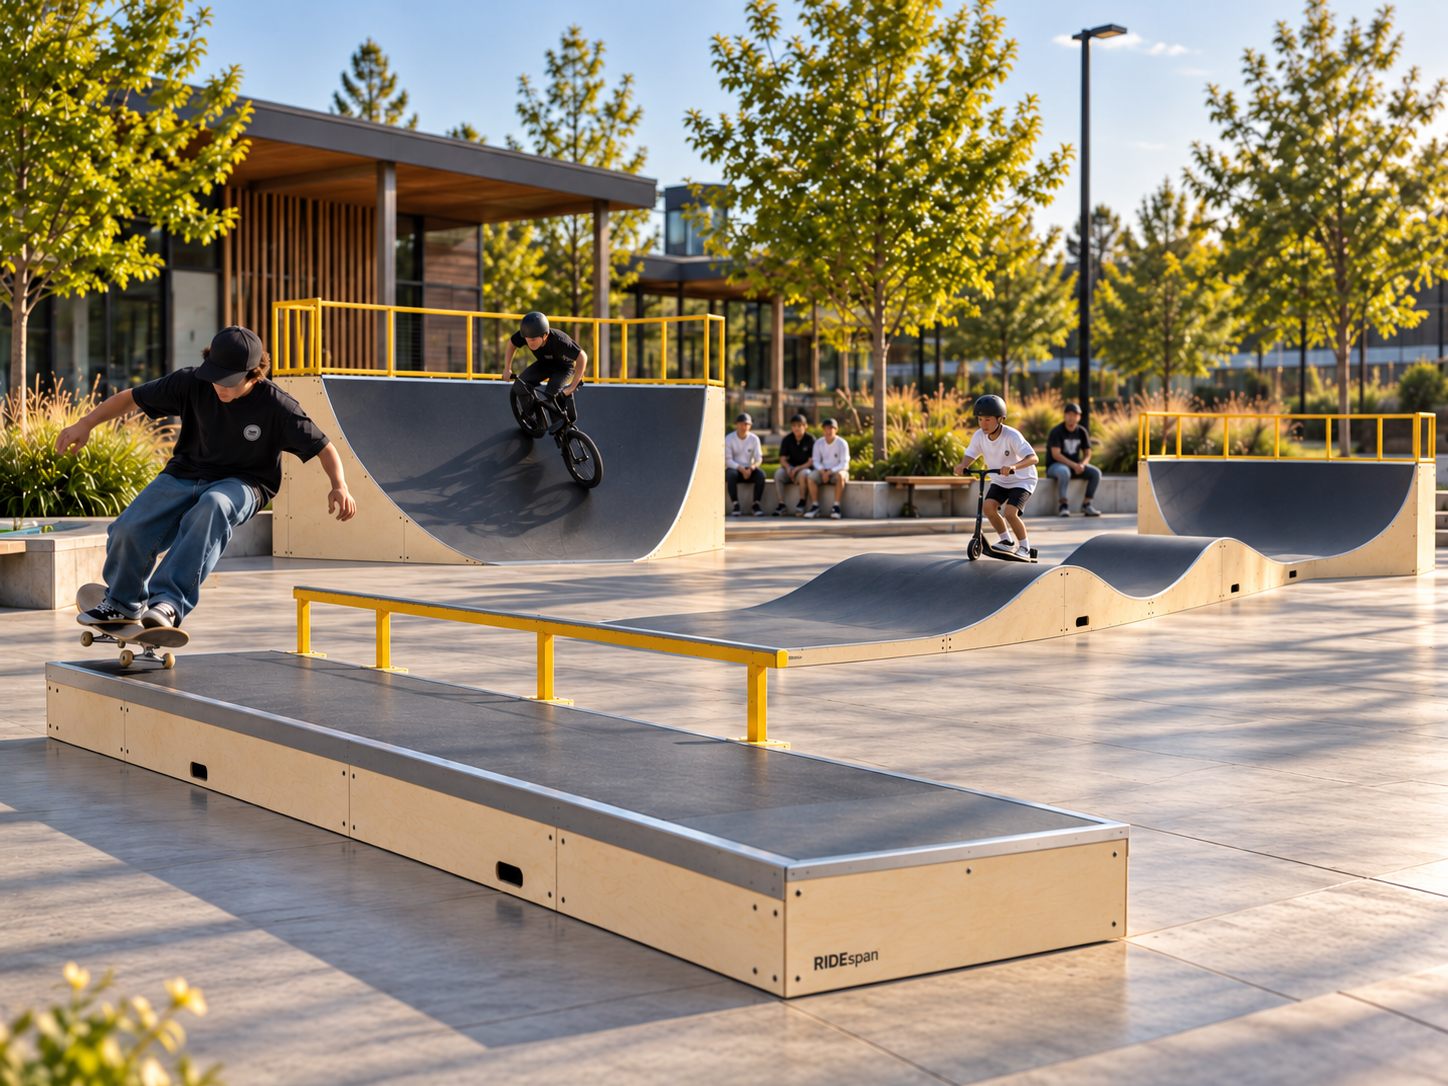
Built Intelligence · Sports & Recreation · Sports facilities
How to Plan an Active Recreation Park for Bikes, Scooters and Skateboards
A mixed active-recreation park is not created by placing a pump track beside a few skate ramps. Bikes, scooters and skateboards move at different speeds, use features differently and create different waiting and circulation patterns. The project needs a site strategy before it needs an equipment schedule.
Apollo NZ Global EditorialPublished 2026-10-07Project intelligence
Editorial guidance — final product, engineering, compliance and site requirements are confirmed for the actual project.
01
1. Define the activity mix before drawing the park
List the intended users and activities: balance bikes, bicycles, BMX, mountain bikes, scooters, skateboards and inline users where relevant. Then decide which groups the project actively wants to serve rather than assuming every activity must use every feature.
A complete PUMP circuit, compact FLOW line, STREET area and bike-specific SKILLS zone each solve different parts of the brief. PARK is the coordination layer that determines which should be included.
This prevents the site from becoming a collection of duplicated or conflicting features and gives the client a clearer reason for each investment.
02
2. Design rider movement before placing amenities
Fast-moving riding lines should not cross the paths used by pedestrians, parents, waiting riders or people walking to seating. Entry and exit points should be understandable, and users should not need to cross one activity zone to reach another.
Map the likely direction of movement and identify where riders slow, queue, stop or change equipment. These points are often more important to park operation than the centre of a feature.
Paths, gates and gathering spaces should reinforce the intended behaviour instead of forcing signage to correct a confusing layout.
03
3. Give beginners somewhere to succeed
A park that only looks exciting to experienced riders can fail a large part of the community. Introductory rollers, lower banks, clear flat areas and progressive features can help new riders build confidence before entering faster or more technical zones.
Progression should be visible in the layout. Riders should understand what comes next without being pushed unexpectedly into a feature beyond their ability.
For schools and community projects, beginner success can be one of the strongest participation outcomes because it supports repeat use rather than one-time novelty.
04
4. Plan spectators and supervision as part of the site
Parents, teachers, coaches and spectators need somewhere to stand or sit where they can see the activity without becoming obstacles. Shade and seating work best when they overlook the riding zones but remain outside entry, exit and waiting areas.
Schools may need formal supervision positions. Councils may rely more on passive surveillance from paths, roads or nearby park uses. Resorts may want the recreation zone visible from hospitality or family areas.
The supervision model should therefore be a design input, not a furniture decision made after the equipment is ordered.
05
5. Public realm determines whether people stay
Bike and scooter parking, hydration, shade, bins, seating, lighting, toilets and repair points can turn a riding facility into a usable destination. Their importance increases with dwell time and project scale.
Amenities should be close enough to be useful but outside rider conflict zones. Maintenance and service access should also be protected so a repair vehicle or technician does not need to cross the main riding line during normal operation.
RIDEspan PARK can coordinate with wider public-realm systems, but the local project team still owns the final landscape, civil and accessibility design.
06
6. Protect the next stage before landscaping closes it off
If a council or developer expects the park to grow, show the expansion zone on the first plan. Preserve access, drainage capacity and logical connections to the future phase.
Staged projects work best when phase one feels complete on its own but does not make phase two unnecessarily expensive. This can mean keeping a path alignment open, leaving a service corridor clear or locating seating where it will still make sense after expansion.
The result is a park that can evolve with participation rather than being locked into the first capital release.
07
7. Finish with an operating and evidence plan
Before procurement, identify which exact systems need structural, surface, anchoring, standards, maintenance, warranty and spare-parts evidence. Before opening, identify who inspects the facility, how faults are recorded and when a feature is temporarily closed.
A good active-recreation project therefore has two schedules: the equipment schedule and the ownership schedule. One shows what is supplied; the other shows how the finished asset will be operated and maintained.
That is the difference between buying recreation equipment and creating recreation infrastructure.
Define users and activity zones
Map rider and pedestrian flow
Create visible progression
Plan supervision and spectators
Coordinate amenities and maintenance access
Protect future expansion
Close the project with evidence and lifecycle responsibilities
Essential site functions work without analytics. With your permission, Apollo uses analytics to understand which products, guides and project pathways are useful. Analytics stays off until you allow it.